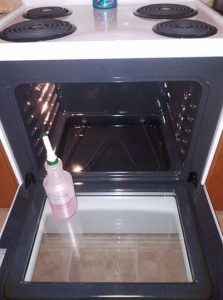
Instructions:
Step 1
Mix enough water and baking soda to form a spreadable paste. The exact measurements are flexible, but starting with half a cup of baking soda and two or three teaspoons of water is a good rule of thumb.
Step 2
Adjust as needed until you achieve a spreadable consistency.
Step 3
Apply Generously: Coat the interior of your oven with the paste, being careful to avoid the heating elements or gas vents.
Step 4
Focus on areas with the most buildup, and let the paste sit for at least 12 hours, preferably overnight, for best results.
Step 5
After the waiting period, fill a spray bottle with white vinegar and mist the baking soda paste.
Step 6
The vinegar and baking soda reaction will create a foaming action, aiding in the removal of grime.
Step 7
Rinse Thoroughly: Once the foaming subsides, use a wet sponge or cloth to wipe away the paste and any loosened debris or grime.
Step 8
For stubborn stains, a gentle, non-abrasive scrubbing may be necessary.
Step 9
Final Rinse: After removing all the paste and grime, wipe down your oven with a clean, damp cloth to ensure any residue is eliminated.
Step 10
Now, you can embark on your next culinary adventure with confidence, knowing your oven looks much cleaner.
Not only does this DIY cleaner get the job done effectively, but it also safeguards both you and the environment. Say goodbye to chemical burns and watery eyes—a naturally clean oven is within reach. This do-it-yourself approach proves that sometimes, the most effective solutions are the simplest ones, often found right in your own kitchen.