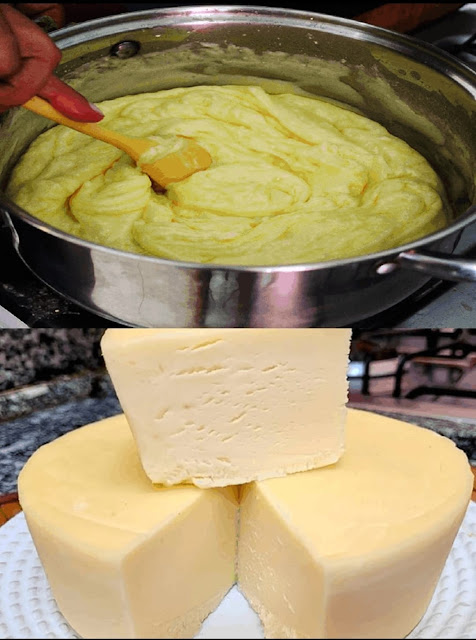
Step-by-Step Instructions to Make Homemade Paneer Cheese:
Step 1: Heat the Milk
In a large, heavy-bottomed pot, pour in the whole milk. Place the pot on the stove over medium heat and bring the milk to a gentle boil, stirring occasionally to prevent the milk from burning or forming a skin. Once the milk starts to rise and steam, it’s time to add the acid to help curdle the milk.
Step 2: Add the Acid (Lemon Juice or Vinegar)
Slowly add the lemon juice or white vinegar to the hot milk while stirring gently. You’ll notice the milk beginning to curdle, with the curds (solid pieces) separating from the whey (the liquid). If the milk hasn’t curdled completely, you can add a little more lemon juice or vinegar, one teaspoon at a time, until you see the separation. Continue to stir gently to help the process along.
Step 3: Let the Curds Settle
Once the milk has fully curdled, remove the pot from the heat and let it sit for a few minutes. This allows the curds to firm up slightly, making it easier to drain the whey.
Step 4: Strain the Curds
Place a fine mesh strainer or a colander over a bowl, and line it with a cheesecloth. Pour the curdled milk mixture into the strainer, allowing the whey to drain off. You can save the whey for later use in smoothies or baking, as it’s full of nutrients!
Use the cheesecloth to gather up the curds and gently press to remove any excess whey. At this point, the curds should resemble soft, crumbly cheese.
Step 5: Rinse and Salt (Optional)
Rinse the curds under cold water to remove any remaining whey and to cool them down quickly. If you like, you can add a pinch of salt to the curds at this point, which will enhance the flavor of your paneer. Gently mix the salt in with your hands or a spoon.
Step 6: Press the Paneer
To form your paneer into a block, gather the cheesecloth around the curds and place the wrapped bundle on a flat surface. Place a heavy object (such as a pot, a bowl of water, or a can) on top to help press out any remaining whey and compact the curds. Allow the cheese to press for 30-60 minutes, depending on how firm you want your paneer. The longer you press, the firmer the cheese will be.
Step 7: Unwrap and Cut the Paneer
Once your paneer has been pressed, unwrap it from the cheesecloth. You should have a block of firm cheese. At this point, you can cut the paneer into cubes, slices, or crumble it depending on your preference.
Step 8: Use and Enjoy!
Your homemade paneer is now ready to use! It’s perfect for adding to curries, wraps, or salads. You can enjoy it fresh or pan-fry it for a golden, crispy exterior. If you don’t plan to use it immediately, store your paneer in the refrigerator in an airtight container for up to 3-4 days.
Tips for Making the Perfect Homemade Cheese:
- Use fresh milk: For the best results, always use fresh, whole milk. Avoid ultra-pasteurized milk, as it may not curdle properly.
- Adjust the acid: The amount of lemon juice or vinegar may vary depending on the milk. If it doesn’t curdle right away, add a little more acid, but be careful not to overdo it.
- Pressing is key: The longer you press the curds, the firmer the cheese will be. If you prefer a softer paneer, you can press it for a shorter amount of time.
- Flavor variations: Feel free to experiment with flavoring your cheese. You can add herbs, spices, or even crushed garlic to the curds before pressing for a more flavorful result.
Why Make Homemade Cheese?
1. Control Over Ingredients
When you make cheese at home, you control what goes into it. You can avoid additives and preservatives often found in store-bought cheeses, ensuring a fresher and more natural product.
2. Cost-Effective
Homemade cheese can be more affordable than store-bought options, especially if you use milk from a local dairy farm or buy in bulk. Paneer, in particular, is a cost-effective cheese to make since it requires just a few ingredients.
3. Personal Satisfaction
There’s something incredibly satisfying about making cheese from scratch. The process allows you to connect with your food in a way that’s both creative and rewarding. Plus, you get to enjoy a fresh, homemade product.
4. Versatility
Homemade cheese can be used in a variety of dishes. From adding it to curries, salads, or even grilled sandwiches, fresh cheese is the perfect ingredient for a wide range of recipes.